Archive for October 2015
I have been filleting frames to the skin of our Didi 40 Cr and fibreglassing shelves to the skin. These are a messy jobs which once started have to be finished or the batch of glass or bog as the case may be goes hard. In some brief windows of time when I did not want epoxy hands I marked out the profile of the rear of the hull. I looked at a range of options trying to get a few more millimeters of heeled water line length but in the end decided that Dudley’s original sloping profile was the nicest looking, lightest and did not give away much length.
After a few tries that did not look right I finally understood Dudley’s instructions. The ends of the battens that are used to mark the line on the radius chine have to be lined up with the straight lines already marked on the side and bottom. This needs more hands than I have available so it was a case of holding the batten and eyeing off a spot that fell on the line then marking that spot with a pencil and repeating the process until a whole row of spots marked out the cut line. For good measure I clamped two long battens lined up with the lines on the side of the hull. I could sight across the hull and check that all the marked lines on the hull were in line with the two sighting battens. Last I marked out the lines with blue masking tape which could be seen from a distance and did a final check that it looked OK.
Marking completed I got brave and cut off the surplus hull section with a hand saw.
The finished cut line is rather pleasing to the eye. Also an inspection of the lamination cut off from the hull shows no defects so I am pleased with the progress.
While it is a shame to throw away such a nice piece of lamination the plus side is that we get a 1.8 metre wide boarding platform about 45o mm deep which will be great for accessing the yacht from jetty or dinghy and double as a great swim platform. The rudder under the hull instead of hanging off the transom makes this boarding platform possible as well as giving the maximum sailing water line length.

The surplus hull at the stern of our Didi 40 Cr has been trimmed off revealing the nice shape of our wide stern version.

Nice glue lines in the lamination of the radius chine of our Didi 40 Cr

It seems a shame to throw these bits away but we do get a very large very useful boarding platform.
I took the risk that the thunderstorms forecast would not hit our building site until after the grey two pack polyurethane topcoat was sufficiently cured. The first coat had already been sanded back to remove runs and insects so all I had to do was a final wipe clean and apply the last topcoat. It was a warm day so the paint was touch dry pretty quickly but a couple of drops of rain did fall from one passing cloud and put a dot on the paint. There was nothing I could do but dab the couple of drops off the surface, remove the masking tape and go away for a coffee. The masking tape came away from the hull leaving a very crisp line and the coffee was a good mid morning pick me up. There were a few spits of rain in the afternoon so I worked away on the chart table and electrical control panel area. After a lot of procrastination I finally drew up my electrical panel. Today I cut it out from 6 mm plywood. It is certainly a lot easier to fit without the deck in place so by tonight I had it fitted and the cleat for the panel hinges epoxied in place. The painting of the keel is finished up to the stage where I need to do the filling and fairing. As I mentioned in a previous post the heat distortion from the lead filling was more than I expected but after a little filling it will be a very fair keel. Looking back to where we were twelve months ago I was laminating up the last of the keel floors prior to adding the cross keel reinforcing pieces.

The Didi 40 Cr boot top stripe with the masking tape removed
Stern view of the grey boot top stripe on our Didi 40 Cr

The primed keel for our Didi 40 Cr ready for epoxy filling and fairing

Flashback to a year ago when I was laminating the last of the keel floors

The first coat of grey paint on the boot top stripe of our Didi 40 Cr

A view of the wide boot top stripe on the stern of our Didi 40 Cr

Installing the chart table timber on our Didi 40 Cr
Dodging the weather systems coming through Sydney I have managed two undercoats and one grey top coat on the boot top stripe on our Didi 40 Cr. The boot top stripe is a small area where I can practice my painting skills. One more coat of grey and I will be able to remove the blue masking tape.
Under the hull I have installed some of the chart table structure. Dudley has sloping top on the standard design but I will have a flat top with a rail around the edges. We usually leave our sailing instructions and course maps on the chart table and they stay in place better with a flat top and rails.

Galley framing completed. Now for the epoxy fillets and ice box foam.

Starting the instrument panel and electrical board.
Humid weather with threatening clouds drove me away from the two pack polyurethane boot top painting. Under the hull the galley structure has progressed to the point where the stove recess and the ice box recess are completed as far as I can go for now. I need access to the hull for more epoxy fillets on the frames and shelves and for installing the foam for the ice box.
On the other side of the hull I have started framing up the chart table area. I want to get to the stage where I have the instrument and electrical panels framed and can measure up the hinged panel fronts.
With blue masking tape used to define the area of the boot top on our Didi 40 Cr hull looks flash. The boot top will be painted a light grey and will separate the white top side from off white antifouling.

Bow view of our Didi 40 Cr with blue masking tape defining the area to be painted light grey

Side view of our Didi 40 Cr with the boot top area masked off with blue tape
I was happy for a couple of rainy days which were good for the garden and it gave me a rest from sanding and painting. Under the protection of the hull cleats have been added to the quarter berth shelves and a frame and shelf have been cut for the galley structure. I have also made a mock up of the fuel tank out of old water proof plywood which has been in the shed for fifteen years. I thought the mock up of the tank would be good insurance to check that the tank when made from stainless steel could be fitted into the space through the locker hatch.
Fine weather returned today so I could complete the last coat of primer and in the dark of night mark the boot top using the laser level. You can just see the laser line on the hull in the photo. Two lines were needed each side to mark the top and bottom of the boot top. Dudley Dix’s plans for the Didi 40 Cr call for a 100 mm wide boot top and it looks good on the half model that Bill Bollard made for me so I will stick to that.

A plywood mock up of the stainless steel fuel tank

Using the laser level to mark the top of the boot top of our Didi 40 Cr
Gusty conditions provided plenty of exercise for our small crew on Wednesday night and despite muscle stain no one left the field.
Ever since we managed to keep Passion moving in 20 knots with the tri radial carbon fibre genoa in one of the RANSA Winter Wednesday races I have been more confident to set it in conditions when we might have set a No 2 in the past. The extra sail power comes in handy in the many wind shadows on the course and in the gusts the flogging main does not seem to slow us too much.
At the start our plan to start on Port at the windward end was thwarted by the starboard tack Tartan. It was a good plan and we were well positioned when Tartan alone tried to take the fleet. Unfortunately their move was not well executed and all they achieved was to push us off the line and to the back of the fleet. We were heading to Goat Island and by good luck or good sailing we managed to clear Long Nose Point on port while many of the fleet had to tack away. As they tacked away we took all the sterns and picked up half the fleet in one move. It was a similar story at Goat Island where we worked the boat hard to avoid a tack and again it paid off to bring us up to the transom of Izzi and Agrovation.
On the broad reach back from Goat to Cockatoo Irukandji and Jedi cleared out while we had a close match with Agrovation. Worlds Apart poled out their Genoa for a while but had to run deep to keep it flying. Izzi tried to keep her genoa poled out too but it was so far around the forestay she did not gain from it. We did well with the genoa to leeward particularly as the breeze headed us along the Cockatoo shore. At the turn we took the inside line and with plenty of breeze about the wind shadow was our least concern. On the work from Cockatoo to Humbug Worlds Apart seemed overpowered and could not clear Clarkes Point. We had Izzi to windward, a ferry to the stern and the port tacking Worlds Apart to contend with. There were plenty of port and starboard crossings on the way through Humbug and we almost cleared Onion Point but to expect three out of three was too much so we tacked away and had to tack back onto starboard below Worlds Apart. We crossed the finish line overlapped which in my book was an excellent result. Izzi and Agrovation were close behind.
On the chart I have marked this weeks tack into Humbug in red and you can see how we lifted into Onion Point. last weeks we tacked out of Humbug and I have marked that track in green. We were not so lucky last week with the shifts in Humbug but got our luck back this week.
A big thanks to the crew for their hard work on the night.

Tacking through Humbug
While sanding the flat sections of the Didi 40 Cr is pretty easy it is more difficult to get a really fair surface on the curved radius chine so I made up a torture board to the curve of the radius chine. Using a 12 mm ply off cut from one of the frames I attached a 3 mm ply panel the size of a sanding sheet with glue and silicon bronze nails. Being a hot day the fast cure West epoxy was cured in a couple of hours and I attached the 80 grit paper with Sika high strength spray contact adhesive. All that was done between morning tea and lunch.
A big advantage of the radius chine construction is that about three quarters of the length of the chine is a constant 800 mm radius so the curved torture board can be used to good effect along a lot of the hull. The hard backing to the middle of the torture board is very effective in taking off the high spots where layers of paint have overlapped.

The curved torture board sitting on the radius chine of our Didi 40 Cr

The curved face of the torture board. Not perfect but very effective

Our Didi 40 cr hull post curved torture board and washing the dust down with the garden hose.
Monday and Tuesday this week were ideal for sanding and painting but they were two of the hottest October days on record so it was tough going in the sun. The warm conditions were ideal for applying the International Interprotect over the Microsurface and by Tuesday evening I had two coats over all and a third started on the starboard bow section. I have to sand the second coat of Interprotect and apply a third and that will be it until the hull is turned and the deck installed.
I had thoughts of applying the antifouling while the hull was upside down but the Ultra I intend to use has only a two month window from application to launching so I will leave it until last. I did buy the Perfection undercoat and top coat to do the boot top line so that will give me a little stripe of finished surface along the hull to see if the finish will be satisfactory.
Today was more or less a rest day after the two big days earlier in the week and the late night last night after putting Passion back on the mooring after the twilight race. I used the time to work out where to put the fuel tank, buy some more paint and also the DC circuit board.

The bow of our Didi 40 Cr with three coats of Interprotect over the Microsurfacer. Only one more primer, two undercoats and two top coats to go.
We did have a good start and were first over the start line and did lead for a little until the wind shifts in Humbug did not suit our position. Still we got away well and the full wardrobe we set was ideal for the evening. We were a bit over canvassed in the gusts but used the area to advantage as the wind faded into the evening.
Over the line we were well beaten by a new J88 and a Nothrshore 369 but not disgraced. Worlds Apart our regular rival and Izzi our Winter Wednesday foe managed to finish in front but our fifth over the line was enough to secure a equal third on handicap.
The evening on the deck at GFS proved to be much more pleasant than the day and those who stayed for the BBQ enjoyed fine conditions and fine food.

Two coats of International Microsurface on the radius chine of our Didi 40 Cr
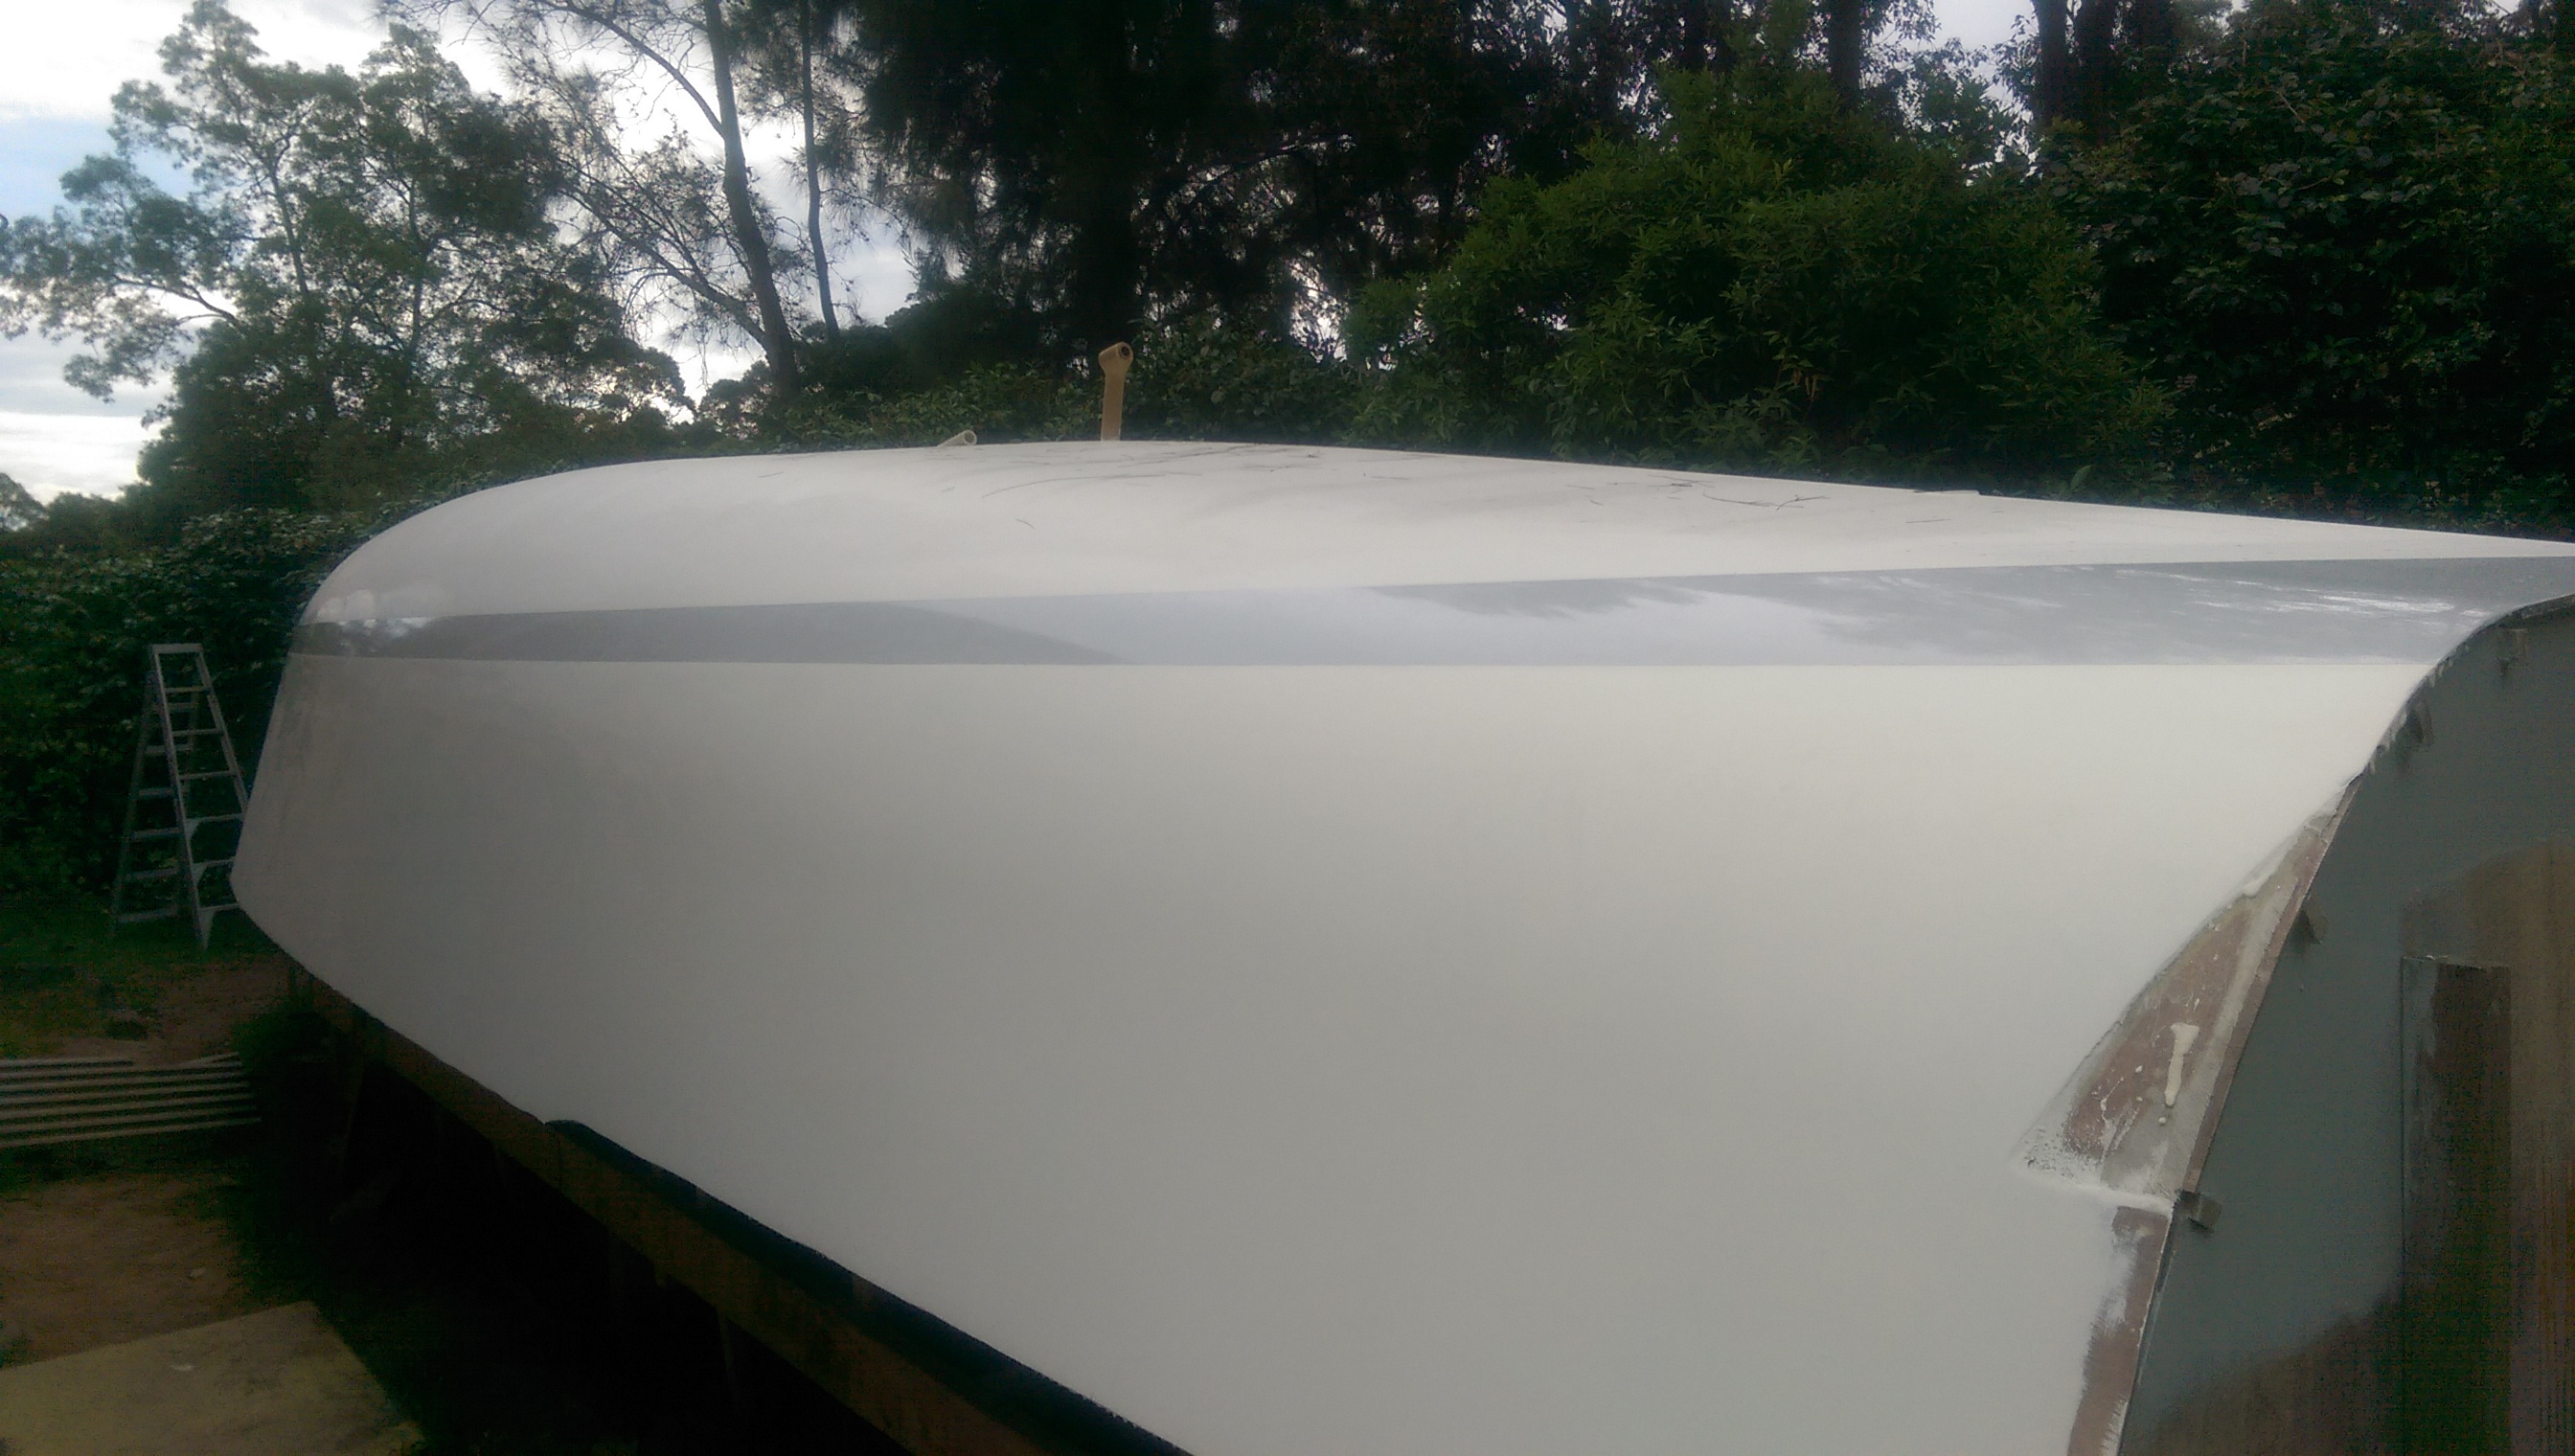
The weather in Sydney has turned for the better with sunny days letting me get on with the sanding and painting. I bought 20 litres of International Microsurfacer to do the final fairing over several primer coats of International Interprotect . The Microsurfacer fills the last 1mm of variations in the hull finish. It is a high build coating which is easy to sand while it is fresh but it does cure to a strong coating. So the last few days have been spent sanding all the gloss off the primer, applying Microsurfacer and then next morning torture boarding the surface ready for the next application. In under four hours I could sand the whole radius chine section of the hull from end to end. Two full coats on the radius chine and a light coat on the topsides has used most of the Microsurfacer so it won’t be long before I will be applying the final three coats of Interprotect. Because I am building in a suburban back yard I did not want to spray the Microsurfacer and roller application followed immediately by brushing off with a foam brush worked very well. The roller alone or brushing was not satisfactory but the laying off of the roller surface with the foam brush produced a much flatter surface than rolling alone. The one light coat of Microsurfacer on the top sides will make the final torture boarding a little easier and most of the coating will end up as dust on the ground. I have sanded half of the port side topsides and am delighted with the finish. In the photo the Microsurfacer on the radius chine has still to be sanded but the topside on the front half has been sanded ready for more layers of Interprotect.
The aluminium angle sitting on the hull is what I am using as a guide for the sanding. The torture board is not long enough to get a fair shape over a long section but a combination of the checking with the aluminium angle and sanding with the torture board is working well.