Archive for March 2023
After a glitch in the internet access to the blog has been restored. I still have some repair to do to the last two posts but hopefully this post will bring you up to date.
My last post was back on 18th February when the first coat of epoy primer had been applied. It took ten days to apply the next three coats with lost of torture boarding in between and a few patched of thin filler.
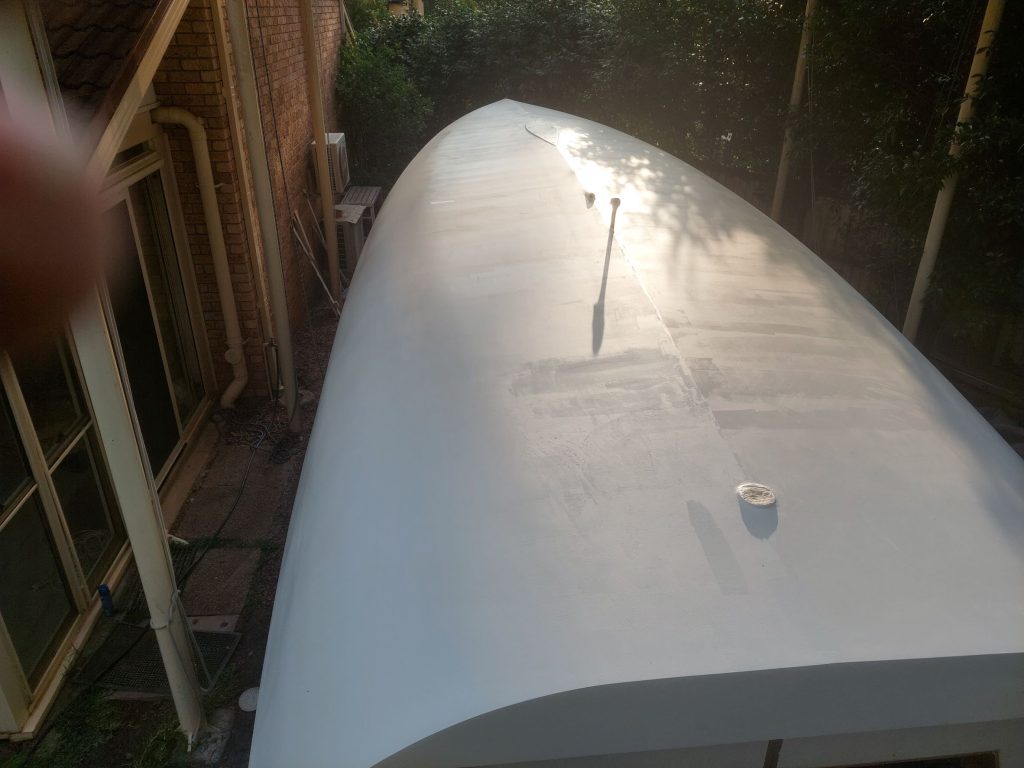
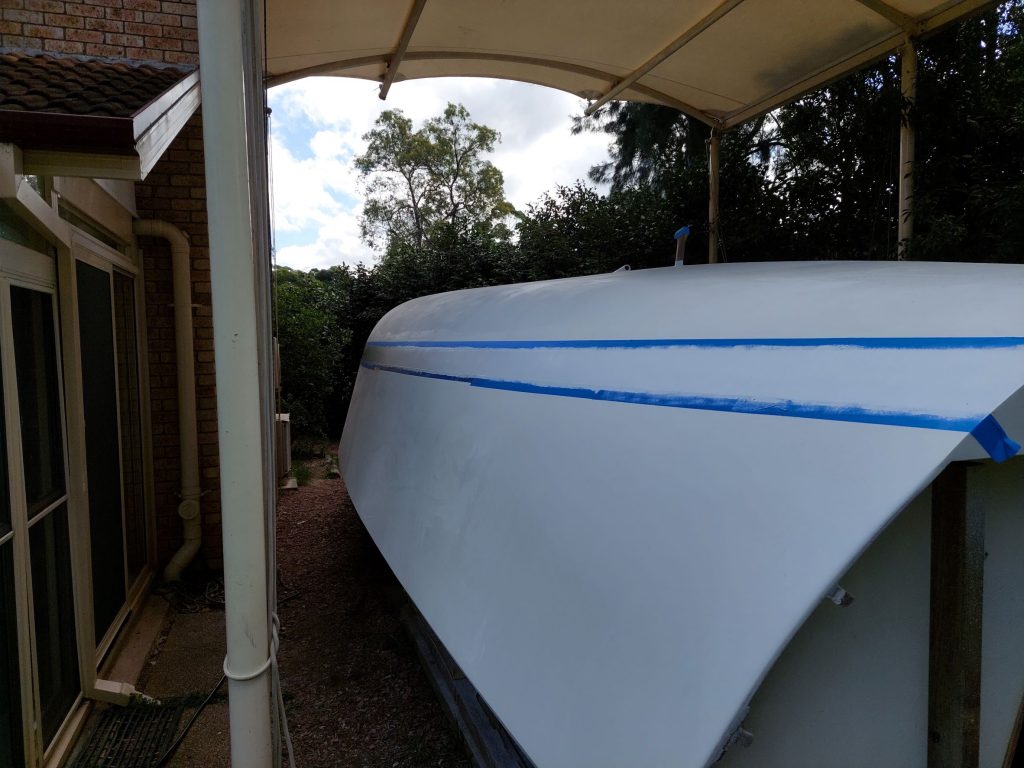
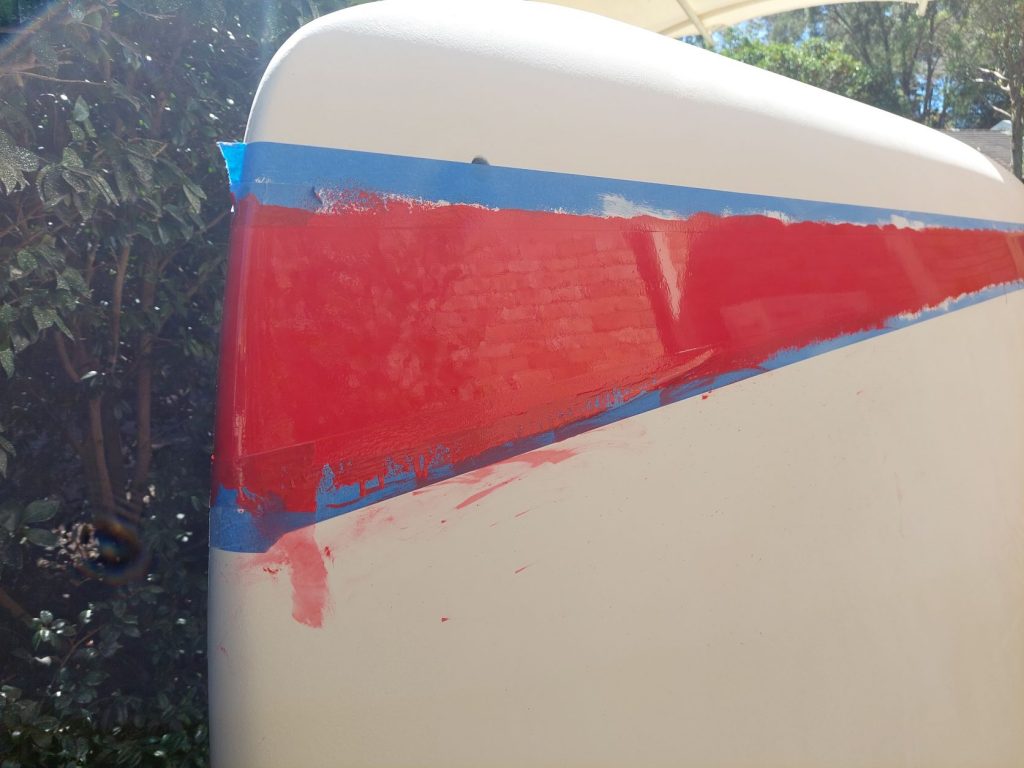
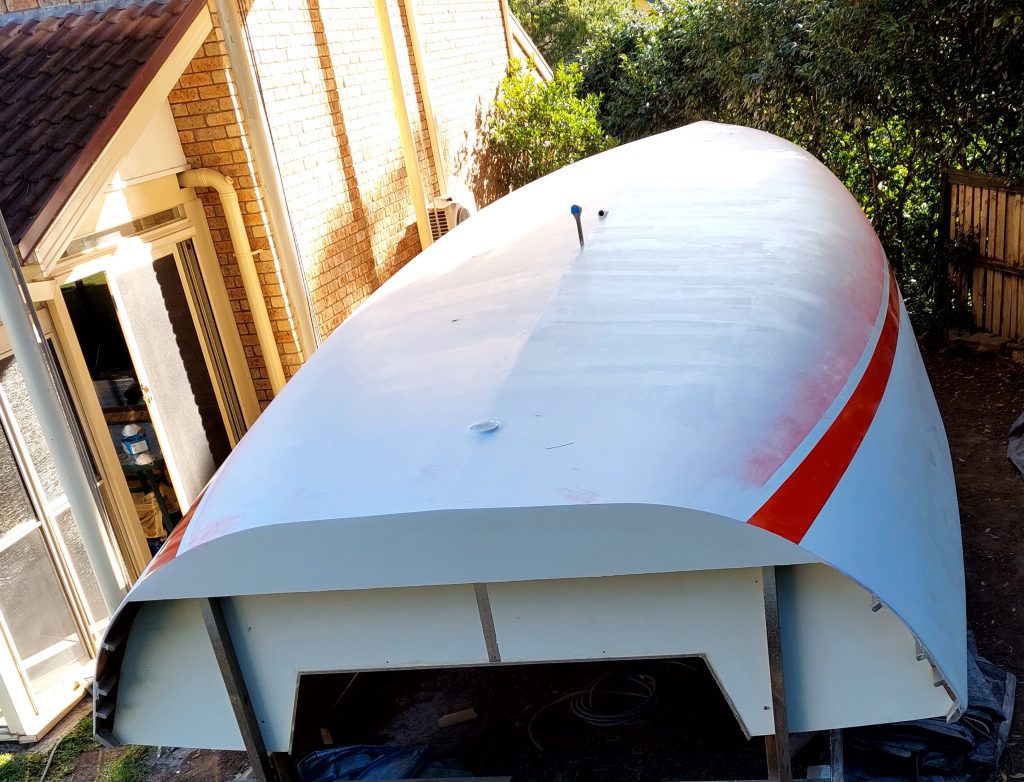
It took another seven days to mark the boot top and apply four coats of red Interprotect on top of two coats of undercoat.
While this was going on I pushed on with painting the interior of cupboards and the backs of the cupboard fronts.
One of the more time consuming tasks was cutting the holes in the bulkheads and shelves for the water tanks filler and breather and for the electrical circuits. Each hole had to be treated with two coats of epoxy and then a coat of paint to ensure that all the plywood end grain is thoroughly sealed. The hardest holes were the ones through the chainplate frames which had five layers of glass at the junction of the frame with the hull. Owing to the overlapping of layes of glass around the ring frame the glasss was 7 mm thick on the forward face and 3.5 mm thick on the aft face so a new ultra sharp hole cutter was needed.
Another three weeks passed because we extended the No 3 stringer from the bulkhead back to the frame in the mid saloon. That meant bonding the stringer elements to the above mentioned ultra strong epoxy glass coated chainplate frame. In the process all the paint had to be stripped from the line of the stringer, the stringer elements glued and the ends filleted to the frames with ultra strong fillets. Once that was done it was time to redo the two pack epoxy paint and also coat the chainplate frames for the first time.
Before fitting the settee backs I installed the water inlet and breather hoses for the two 450 litres water tanks. I tried using the same brand hose as on Passion x but in the intervening seven years I must have lost some strenght as I found the task impossible and purchased a slightly larger diameter and softer hose which was perfect for the task.
The settee backs have been in for a few days now and all the joins were back filled with structural adhesive while the glue joins were fresh. I masked the glue join lines to keep the plwood clean and the extra care was worth the effort.
Now I have left the saloon behind and moved to the head vanity and quarter beth lockers. There are many more cupboards on the new Didi 120 as the extra 200 mm with on both sides provides ample opportunity for more storage spaces. The downside is that this takes more time.
Of course every partial bulkhead for a furniture element is another bulkhead to drill for the electical and water services as well as the engine exhaust so it will take a while to finish the timber work, bog the shelves to the hull and paint the interiors before attaching more locker fronts with pre painted backs.
I will insert more photos when I can. At the time of writing WordPress will not let me access the latest photo uploads.
On the design front the yacht design has passed the structural review and the design is on the process of being listed with World Sailing. More about this good news with links when it is up on their web page.