It is almost three weeks since my last post on the keel floors and not much seems to have happened. We did take a break and drive to Queensland where I helped son Mark with some concrete block retaining walls but allowing for that progress stills seems to be slow.
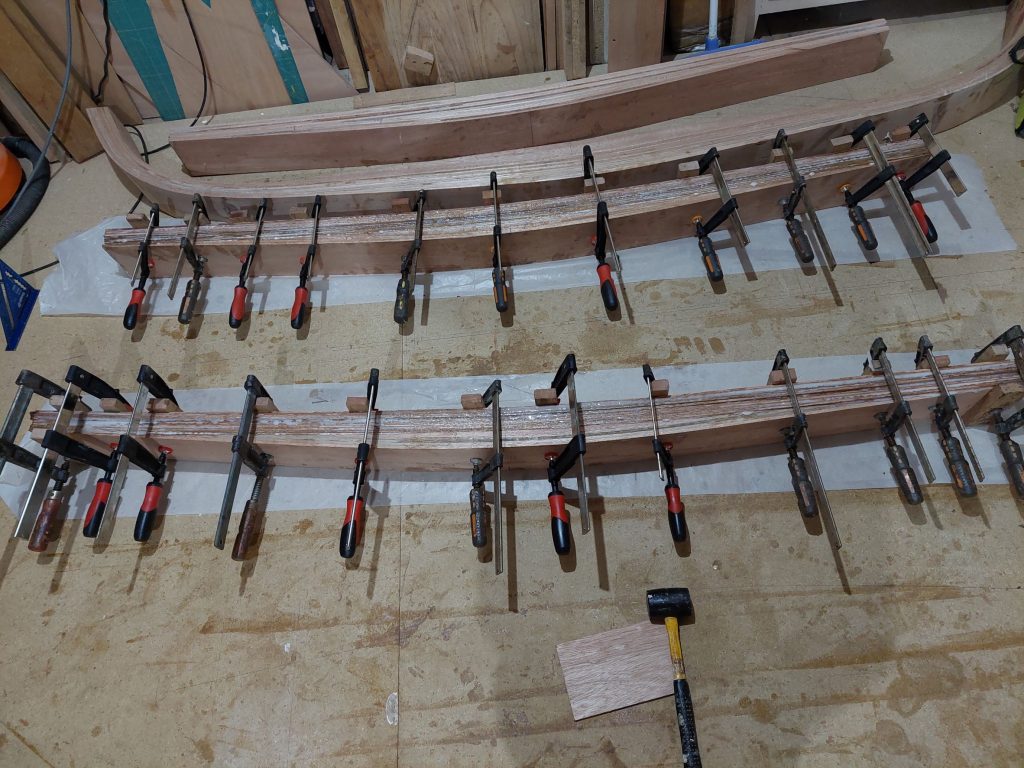
The front floor which we will call 1 had to be done in five stages as the very sharp bend around the radius chine required a lot of pressure and the most I could manage was two 6 mm laminates at a time. So all up that was one gluing session for the first series of short lengths which form the V and the taper of the floor and four sessions each gluing two more with full length laminates to what had already been glued up. With hindsight which is a wonderful thing we should have laminated the frame before installing the chain plate frames as the shape where they meet clashed with the laminates before they were pulled into shape. So as the laminates were clamped to the previously cured frame the whole structure had to be pushed hard up against the chain plate frame.
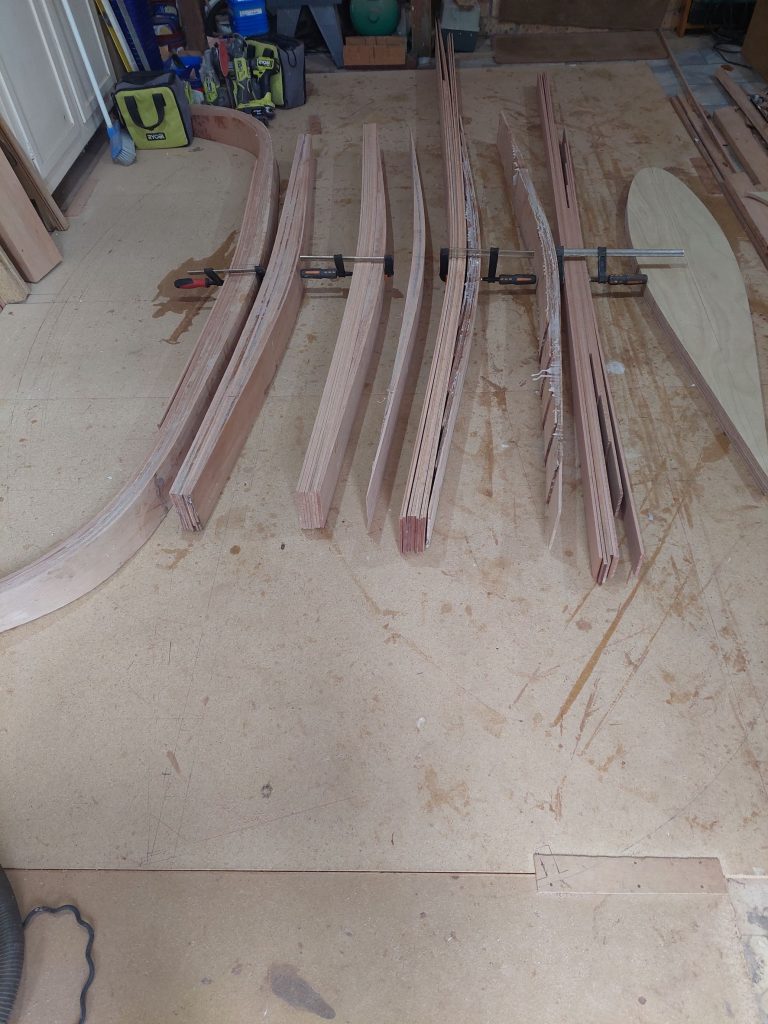
I was relieved to get that first ring frame completed and start on the short floors which have a shallow V and a taper from 83 mm down to 50 mm at the outboard end. I found it easiest to glue up the laminates that would form the taper and the V first and then clamp the remaining 8 full length laminates to the curved section on the shop floor. The first six lengths making up the taper are comprised of successively longer sections until the last is full length and that makes for a light laminate that can be handled with ease.
As of the 3rd March four of the keel floors are glued up and a two more have the V and taper section formed and only need the full length laminates glued in place on the shop floor. The last floor is the narrower one that goes under the engine and that is mostly cut. Being narrower it should be easy to handle once the rain stops and work outside can recommence.
If you don’t know what rain I am talking about it is the one in 500 year rain event hitting sections of the East Coast of Australia.


In the first photo you can see a foil section which is the size of the top of the keel. I am making up a drilling template ready for drilling the strongback and the keelson. So far I have cut 4 layers of 12 mm hardwood ply ready to make a 48 mm thick guide to hold the drill bit straight. It is an idea and a work in progress.