I would give myself no more than nine out of ten because I found one frame had moved during the keel and stringer fitting despite my braces and regular checks. The errant frame is frame ‘M’ a light 9mm frame with a substantial cut out. It was braced with two 90 by 30 mm strong backs but above the top strong back it still managed to move enough to be corrected. This frame is at the back of the rear bunk which has loose 6mm ply covers and if not square the bunk tops would not clear the frame when lifted. Fixing the error required unmaking the keel join, four stringer to frame joins and the three bunk bearer joins. A multipurpose tool which has an oscillating head and an offset saw end was ideal for cutting out the glue join and the joins were all unmade in three hours. A third brace was then introduced and all the joins remade.
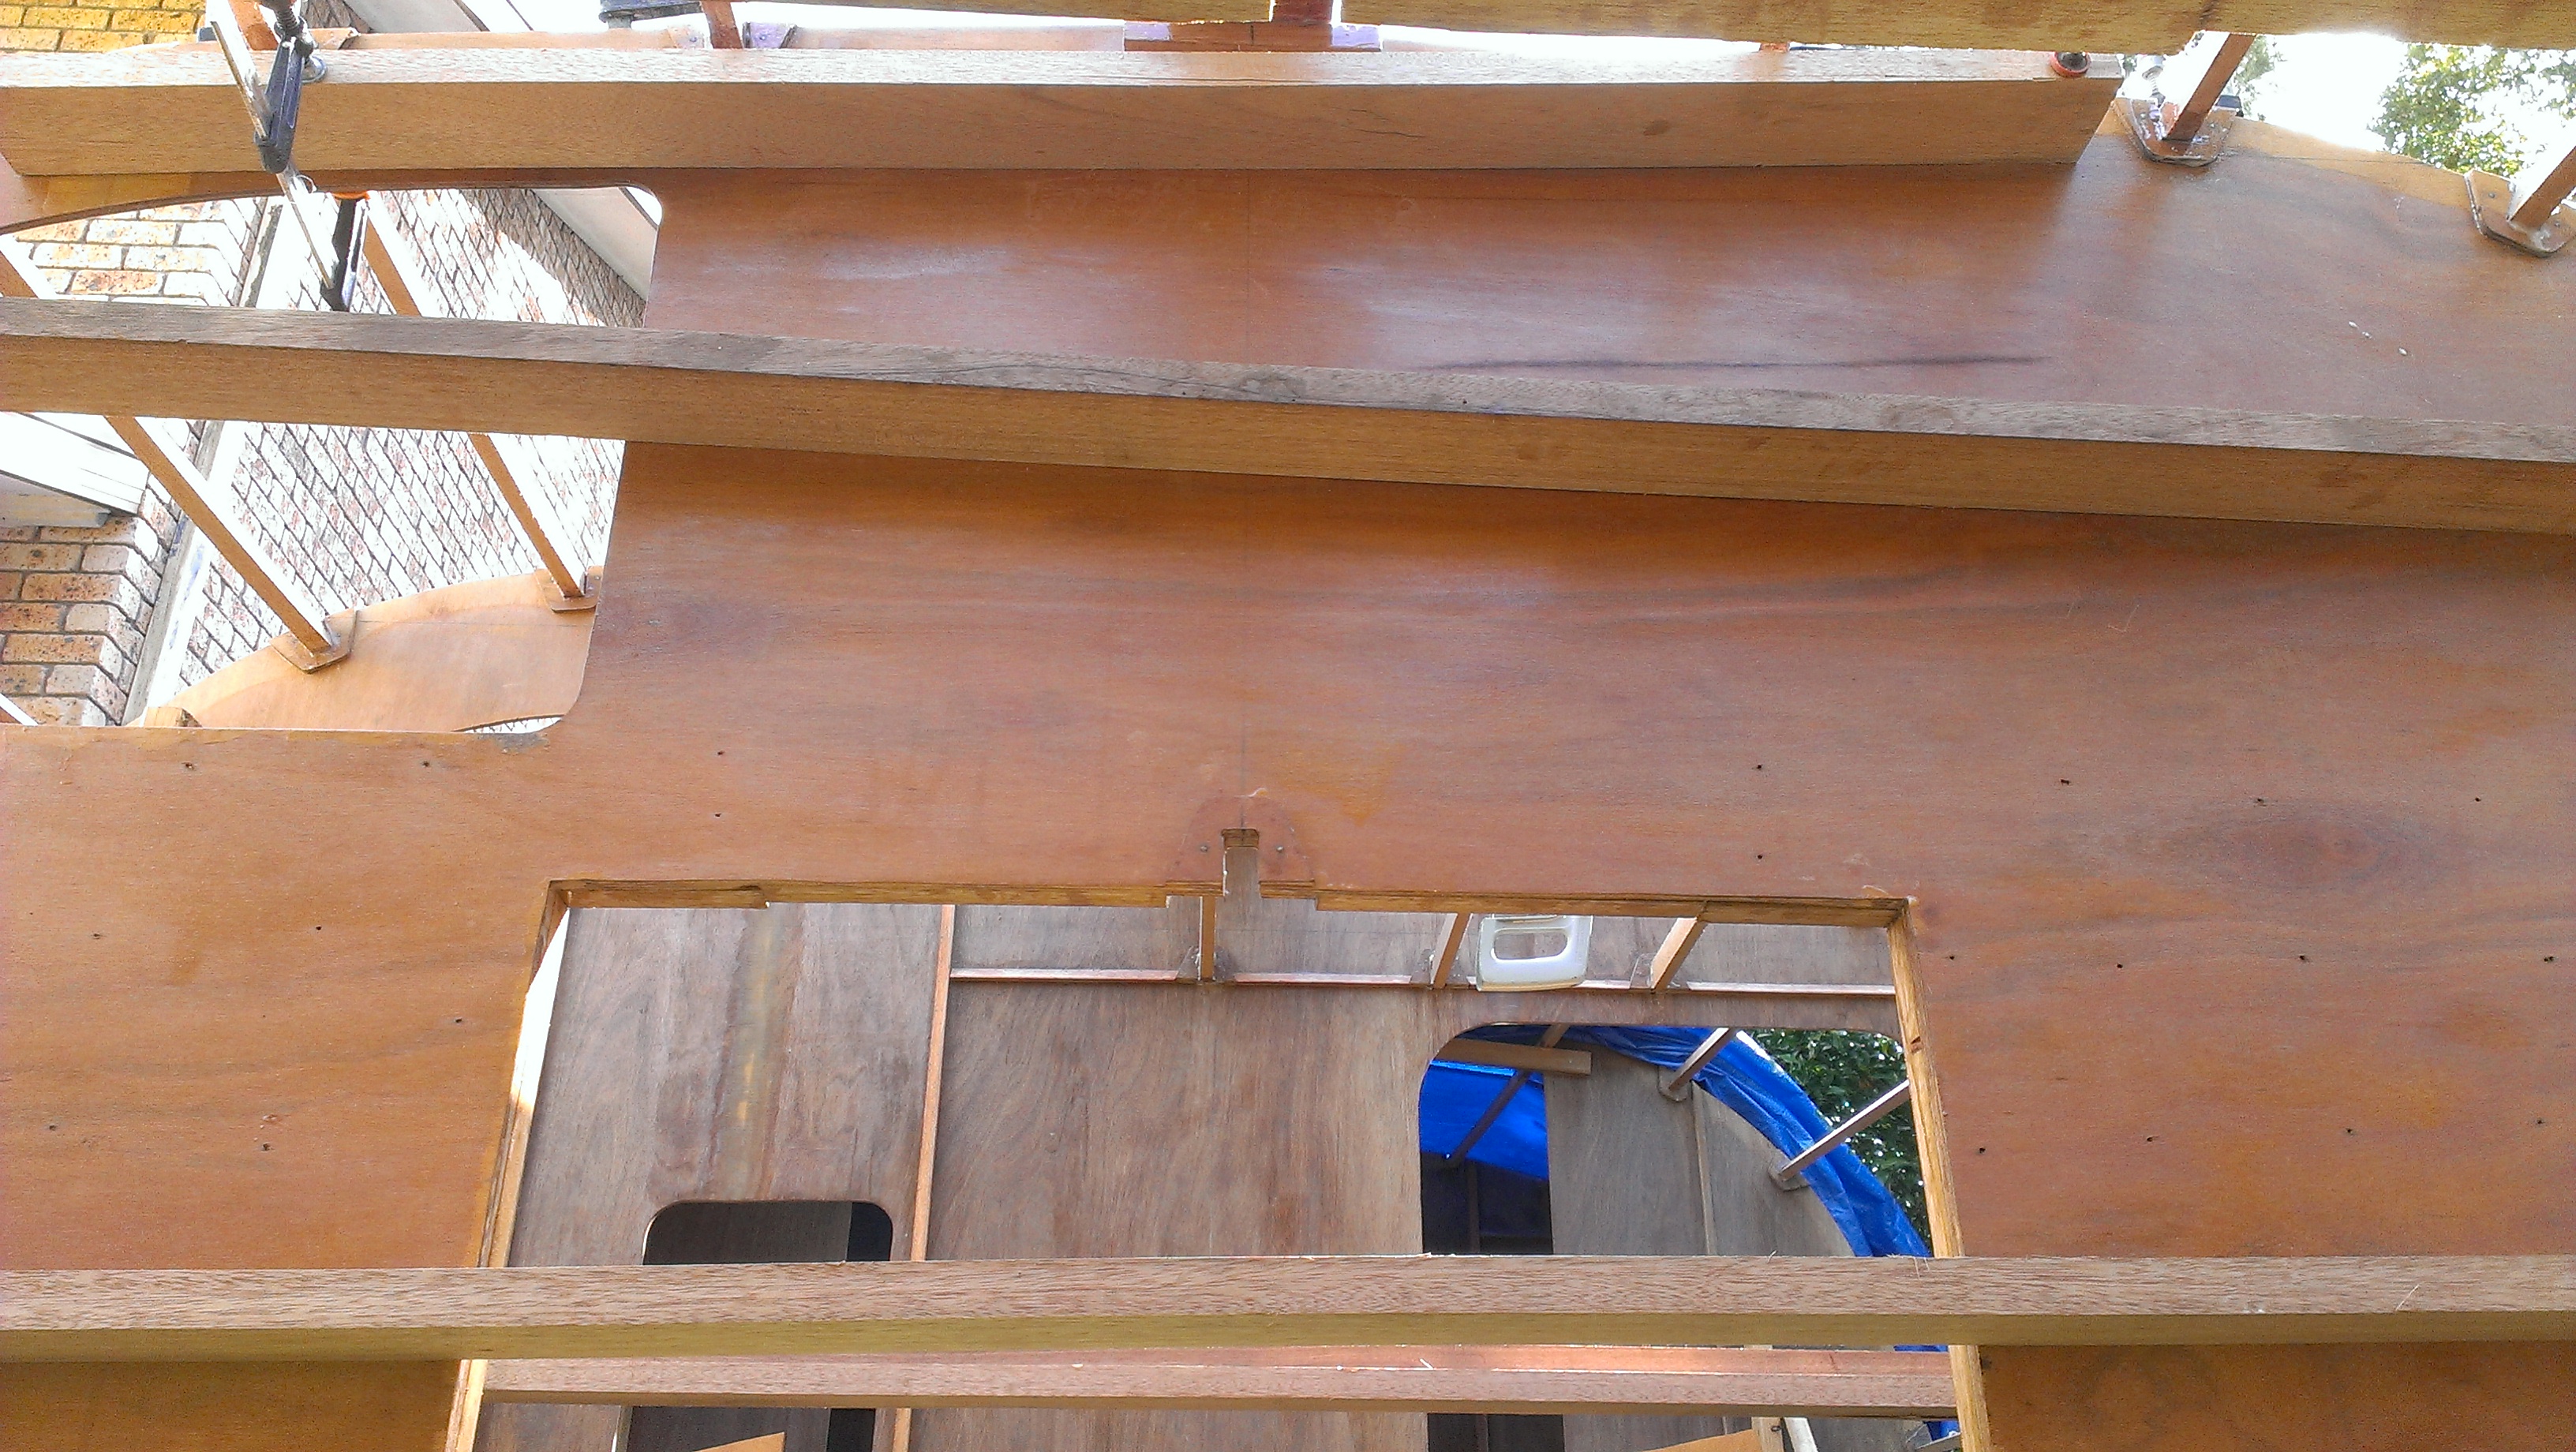
A third brace was needed near the keel of frame M to hold the frame for the reconnection to the keel and stringers
This was three hours well invested since the out of square frame would have annoyed me for years to come and three hours to fix it was a small price. Next to peel ply the multipurpose tool gets my vote for boat building aid of the decade. To be fair they have both been around for more than a decade but the price of the multipurpose tools out of China is now very affordable. I purchased mine when I was removing keel bolt backing plates from my Jeanneau and the oscillating head made short work of cutting out the sealant. Also the sanding heads get into all the most difficult places so it was very useful for grinding off flow coat before laminating up extra layers of glass on the keel frames. After fixing the offending frame I fitted a 12mm ply piece for the base of the anchor well, planed the sides flush ready for the skins and glued it into place.

Anchor well base glued into position
I have squeezed a little more room into the anchor locker by lowering the floor 50 mm and notching the front 12 mm where it sits on the stringers. While it is a small increase in depth it is over quite a large area and will accommodate quite a bit more anchor rode. The loss of headroom in the small compartment under the anchor well will be of no consequence. I have not worked out what to do with this space yet but having access to the stem for fitting bob stays is a nice feature. While we are talking about the stem I could not get 100 by 100 lumber so joined a 90 by 70 piece with a 30 by 125 piece to form a T section. After rough sawing the block to the angle of the stem I took the tapered wedges of timber and glued them into the corners of the T to make a solid block 100 mm deep finishing 125 wide at the back. The extra weight of the timber is inconsequential and I get a larger gluing area for the ply skin and eliminate the corners in the stem

The back of the stem goes across the full with of the hull for a neat finish.