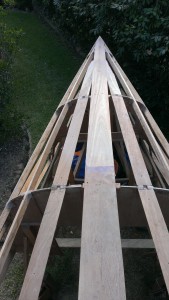
I spent the day fairing the stringers and ply doublers that run into the stem and keel. The tools were the Makita power plane, a long hand plane, two templates for the radius sections at the forward stations and a long coarse torture board. Late in the day the grandchildren came to visit and checked the accuracy of my fairing with my straight edge. I was able to demonstrated how the the torture board is useful for final fairing.
The photo shows how the pointy end looks after the fairing.
While I was dusty from the power planing and hand fairing I used the sanding disc on the angle grinder to trim back some of the keel blocking pieces so I am almost ready to glass in the keel frames to the water tanks sided.
After dark I used the laser level to check the centre line from the stern through the two centre line keel bolt pilot holes and on to the newly faired stem. As all was in perfect order I am ready to start the plywood cladding. The only thing holding me up is a few jobs that will be easier to do before the cladding is installed such as sealing off the keel frame to water tank joins.
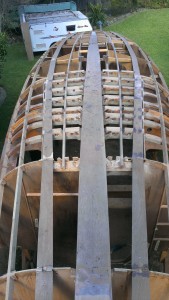
While the covers were off for the laser check of the centre line I took a few photos for the record showing the ply doublers added to the required stringers and the keel blocking in place.
Another photo looking forward shows some of the internal structures already in place.


