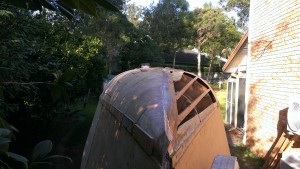
With help from the crew we have almost finished the first 6 mm layer on the radius chine of our Didi 40 Cr. I was able to use 6 mm plywood up to 2.4 metres from the waterline entry at the bow. Beyond that the sheets would snap when bent to the required radius. Dudley calls for 4 mm ply from there but I opted to do the first layer in two layers of 3 mm plywood. A single sheet of 3 mm ply was enough to cover the last 2.4 metres in two layers so it is both a practical and economic option. In the penultimate 1.2 metres we used cleats between the stringers to make sure the 3 mm layers were pulled together but for the last 1.2 metres the stringer spacing was so close as to not need any additional cleats.
The other minor variation was for the last 2 metres to take the two 3 mm layers across the tangent stringer to the keel centre line. This makes it easier to hold down the end of the plywood and also gives avoids a join across the tangent stringer doubler.
At this stage I stopped using the 12 mm ply cleats to hold down the plywood planks to the tangent doubler and started using 19 mm silicon bronze nails which have amazing holding power in the tough dense meranti keel timber. Right at the bow a lot of nails were needed to hold the last plank to the tight curve.

Tomorrow I will true up the centre line with the rebate plane and try to complete the starboard side. After that it will leave just 72 planks to go (counting the 2 by 3mm planks as a single 6 mm plank)
I am going to use the 2 by 3mm planks an extra metre further back from the bow on the second layer so that the external skin is not so highly stressed. We have found it almost a quick to do the two 3 mm layers together as to do a single 6 mm layer and with the solid 6 mm layer as a backing a few silicon bronze staples should hold down the 3 mm plywood between the stringers without the need of extra ply cleats.
Using the 12 mm plywood cleats held down with three 10 gauge 32 mm self tappers has proved to be a great success. Once I started to use a large screwdriver to torque up the self tappers to the maximum the joins have been finished flush and square to the tangent line with remarkable consistency and accuracy. The hull side of the cleat is covered with packaging tape which acts as a mould release so the glue joins look like fine furniture.
